Homemade Dried Orange Garland: How To Make a Compostable, Sustainable Dried Orange Garland For Your Christmas Decor
Nov 30, 2022
It is easy to give in to buying new for the holiday season. With the abundance of décor, ornaments and sales hitting the shelves, it’s hard to avoid. That’s why we are bringing you a festive, easy, sustainable (and compostable) Christmas DIY that you can make at home with supplies that are likely already in your cupboard.
https://www.tiktok.com/@thegaiaproject_/video/7172551340831378694?is_from_webapp=1&sender_device=pc&web_id=7147726476157240838
Not only are orange slices delicious, but they can also be used to make a festive garland that’s both fun and sustainable. Here’s what you will need to get started creating your DIY Dried Orange Garland!

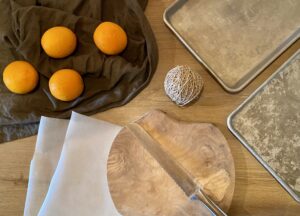
Dried Orange Garland Supply List – You will need:
- 3-5 large oranges (not too ripe, you want the orange to still have firmness to them)
- Knife for slicing
- Cutting board
- Parchment paper
- Baking sheet(s)
- *Optional* Cooling rack
- Twine
What to do:
- Prepare the slices.
- Bake/dehydrate the slices.
- Make a hole in each slice.
- Thread on to the twine
- Decorate!
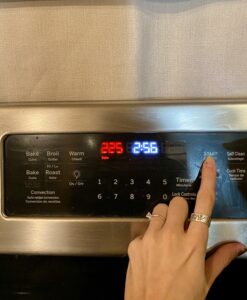
Step 1: Preheat
Turn on your oven and preheat it to Preheat the oven to 225º F.
Step 2: Prepare baking sheets
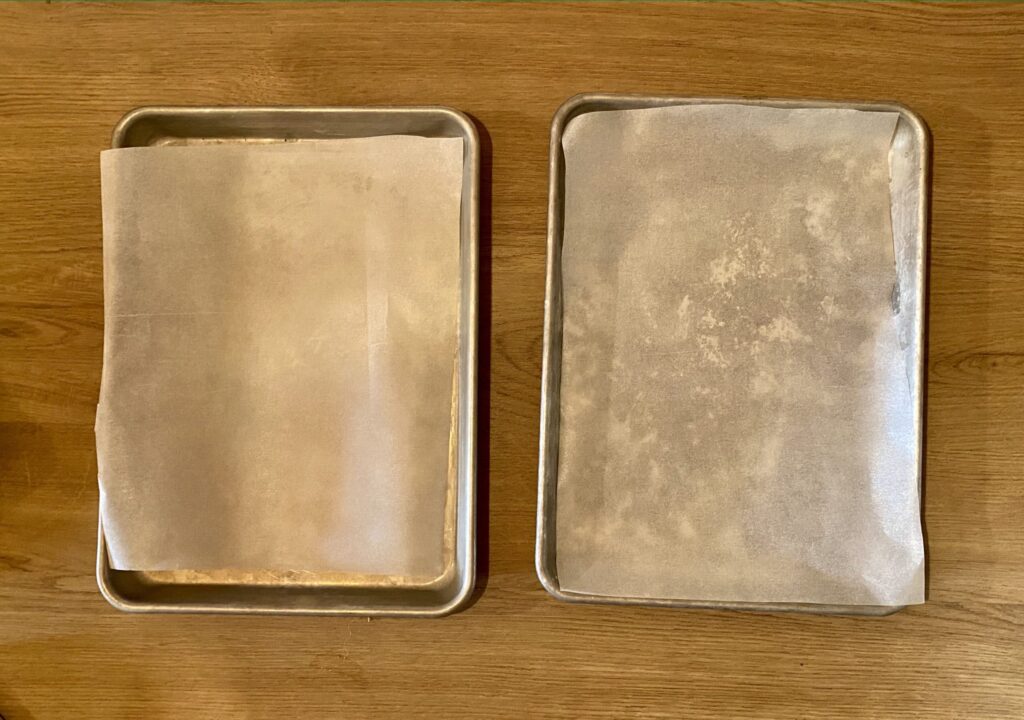
While the oven is preheating, set out 2-3 cookie sheets with parchment paper. The number of pans you need will depend on how many oranges you decide to use.
Step 3: Prepare Orange Slices
Slice your oranges 1/8 to 1/4 inch each. Try to keep your slices as even as possible. The thinner the slices, the quicker they dry.
Blot with paper towel or a dry cloth to remove moisture – this helps speed up the process of drying.
Place them on a lined baking sheet. Oranges can be close together on the sheet or even touching; they will shrink in the oven.

Step 4: Bake/Dehydrate
Place in the preheated oven and bake for approximately 3 hours at 225ºF or until the oranges start to turn slightly brown and dry out, this may take longer or shorter depending on your oven – keep an eye on them!
After about an hour and a half, flip the oranges to help them brown evenly

Step 5: Cool
Allow the orange slices to cool down once dried for at least a few hours. Optionally, they can be placed on a cooling rack.
Step 6: Start Stringing!
String the oranges onto twine, and be sure to poke through the flesh, not the rind. I like to create at least two holes so that my oranges lay flat instead of sideways.
Spacing is completely up to you! You can string them close together, or further apart for a more minimal look!
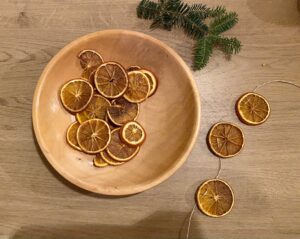
And now you’re done! String them along your tree, fireplace, window, and more! Don’t forget to compost your scraps. Oranges, their peel, and twine can all be added to your backyard or municipal compost!
Have extra slices? Don’t throw them in the compost just yet!
Here are more ways to use them.
Orange Slice Ornaments – you can even add a cinnamon stick for an extra touch!

Make a simmer pot with the extra slices to make your house smell beautiful.

Add it to your Christmas gift wrap
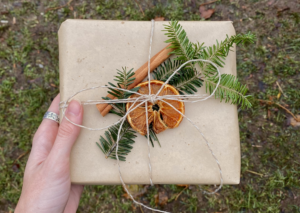
Use it as a garnish!

And when the time comes, don’t forget all the pieces used in this DIY are compostable!
As long as the pieces are fully dry, you should be able to keep these for years.
Author: Kelly Green, Communications and Marketing Coordinator
Follow us on social for more stories, news and updates:
Facebook: www.facebook.com/gaiaproject
Instagram: @thegaiaproject_
Twitter: @gaiaproject
LinkedIn: @thegaiaproject-projetgaia
TikTok: @thegaiaproject_